To prepare a house for real estate photos, clean every room, clear all counters and surfaces, put personal items away, open the blinds, turn every light on and every screen off, and move cars, bins and hoses out of sight. Most of the work takes an hour or two the day before. The checklist below is the one we give sellers, room by room.
Why preparation matters more than editing
Listing photos have one job: show buyers what the home looks like. HDR photography blends several exposures so dark corners and bright windows both hold detail, but it records whatever is in the room. A pile of mail on the counter comes out sharp and evenly lit too.
Editing has limits, and some of them are rules rather than software. The BC Financial Services Authority (BCFSA) lists digitally altered or enhanced photos among its examples of false or misleading advertising in its consumer guide to advertising. Its guideline on artificial intelligence says that virtually staging a house may be acceptable, but photos or videos that have been altered and enhanced should be labelled so buyers are not misled.
In practice, that splits into two groups:
- What editing can fix: exposure, colour balance, straight verticals, and the brightness of a view through a window.
- What sellers should fix before the shoot: clutter, dirty surfaces, personal items, burned-out bulbs, cars, bins and anything else that would mean changing what the photo shows.
The second group is faster to fix in person, and it keeps the photos honest. Ten minutes with a laundry basket does more than any retouch.
The day before: whole-house basics
Start here. These items apply to every room.
- Clean the whole house: vacuum carpets, mop hard floors, wipe counters and clean the windows.
- Replace every burned-out bulb.
- Use bulbs of the same colour temperature in each room, so one lamp does not glow orange next to a cool white ceiling light.
- Put shoes and jackets in closets.
- Remove small floor rugs so the actual flooring shows.
- Take down or swap out personal photographs. A neutral landscape print can fill the hook.
- Make every bed.
Shoot day: lights, blinds and screens
Do these just before the photographer arrives.
- Turn on all overhead lights and lamps, including the range hood and under-cabinet lights.
- Turn off ceiling fans. A spinning fan blurs in the frame.
- Turn off TVs and computer screens.
- Open the blinds and curtains evenly in every room. If some are half open and others closed, the room looks unfinished.
Kitchen and dining
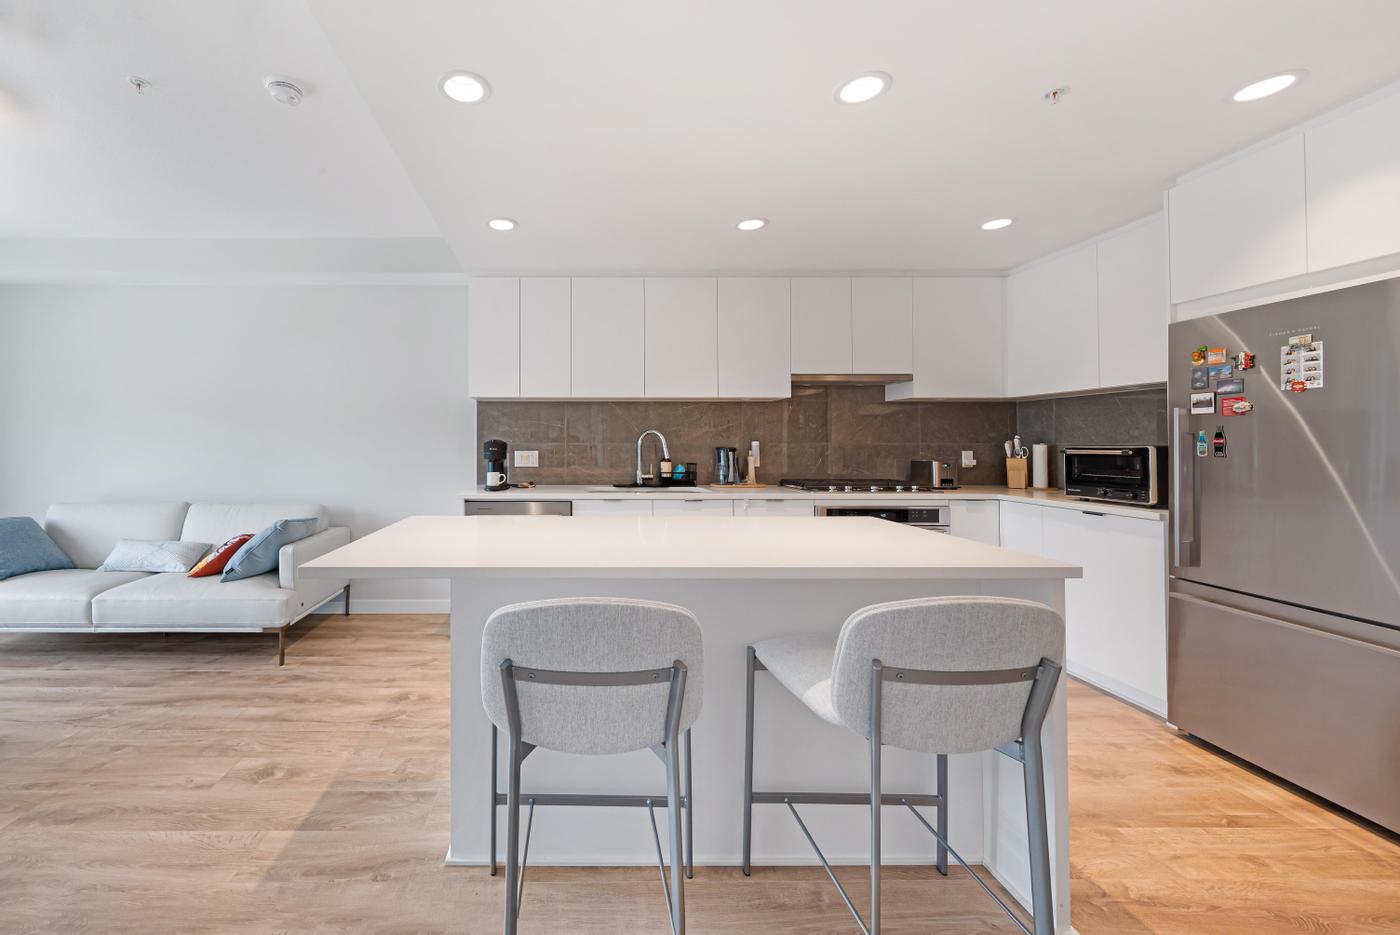
The kitchen is usually one of the first photos buyers look at, and it collects the most clutter.
- Clear the counters completely: knife blocks, baking supplies, mail, chargers and dish racks.
- Leave out one small appliance at most, such as a coffee maker.
- Clear the fridge door of magnets, papers and photos.
- Put the garbage and recycling bins in the pantry or a closet.
- Load dirty dishes into the dishwasher and empty the sink.
- Clear, dust and polish the dining table. One centrepiece, such as a bowl of fruit or flowers, is enough.
- Straighten the chairs and space them evenly, and put away booster seats and high chairs.
Living and family rooms
- Remove stacks of magazines, papers and mail.
- Limit the mantel or hearth to about five items, art included.
- Clean the inside of the fireplace.
- Fluff and arrange cushions.
- Put away toys, remotes and game controllers.
Bedrooms
- Make the bed with decorative pillows if you have them, and smooth the linens.
- Clear the nightstands of personal items and charging cables.
- Clear the tops of dressers.
- Take family photos off the walls.
Bathrooms
Bathrooms photograph small, so every bottle shows.
- Clear the counters completely: soap, toothbrushes, medication, deodorant.
- Clear the shower and tub of shampoo, razors and loofahs.
- Clean mirrors, glass, tile, grout and the tub.
- Remove used towels and floor mats. Hang only fresh, matching towels.
- Close the toilet lid.
Exterior, yard and parking
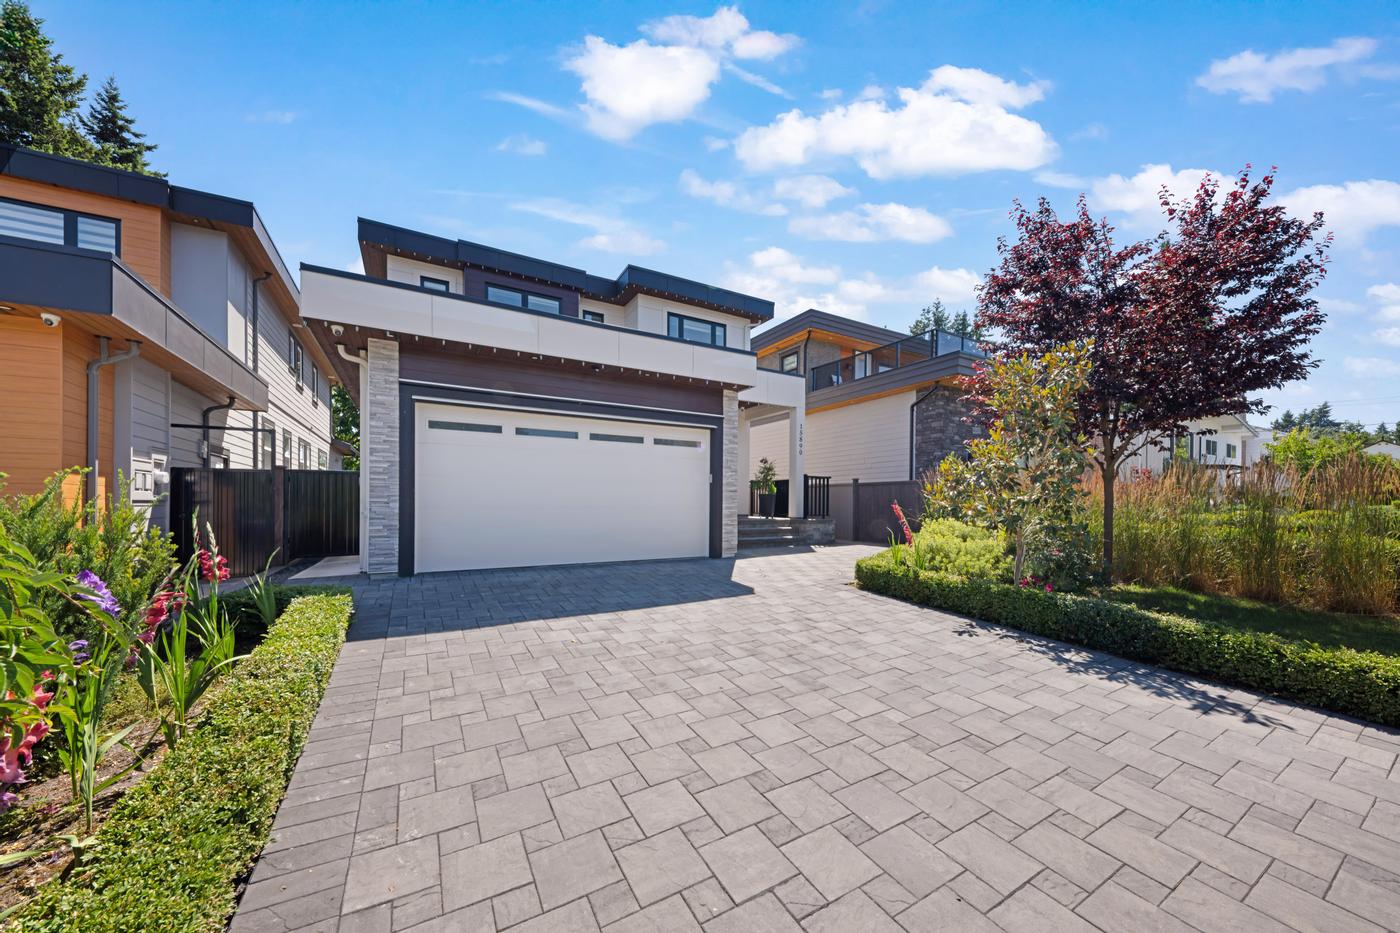
Exterior photos often become the cover image, so treat the front of the home as its own room.
- Close the garage doors.
- Move cars off the driveway and away from the front of the house.
- Mow, trim shrubs and clear leaves. In fall and winter, clear fallen needles and moss from walkways too.
- Sweep or blow off the driveway, walkways, deck and patio.
- Put away hoses, empty planters, toys, sports equipment and bins.
- Set out patio furniture with cushions in place.
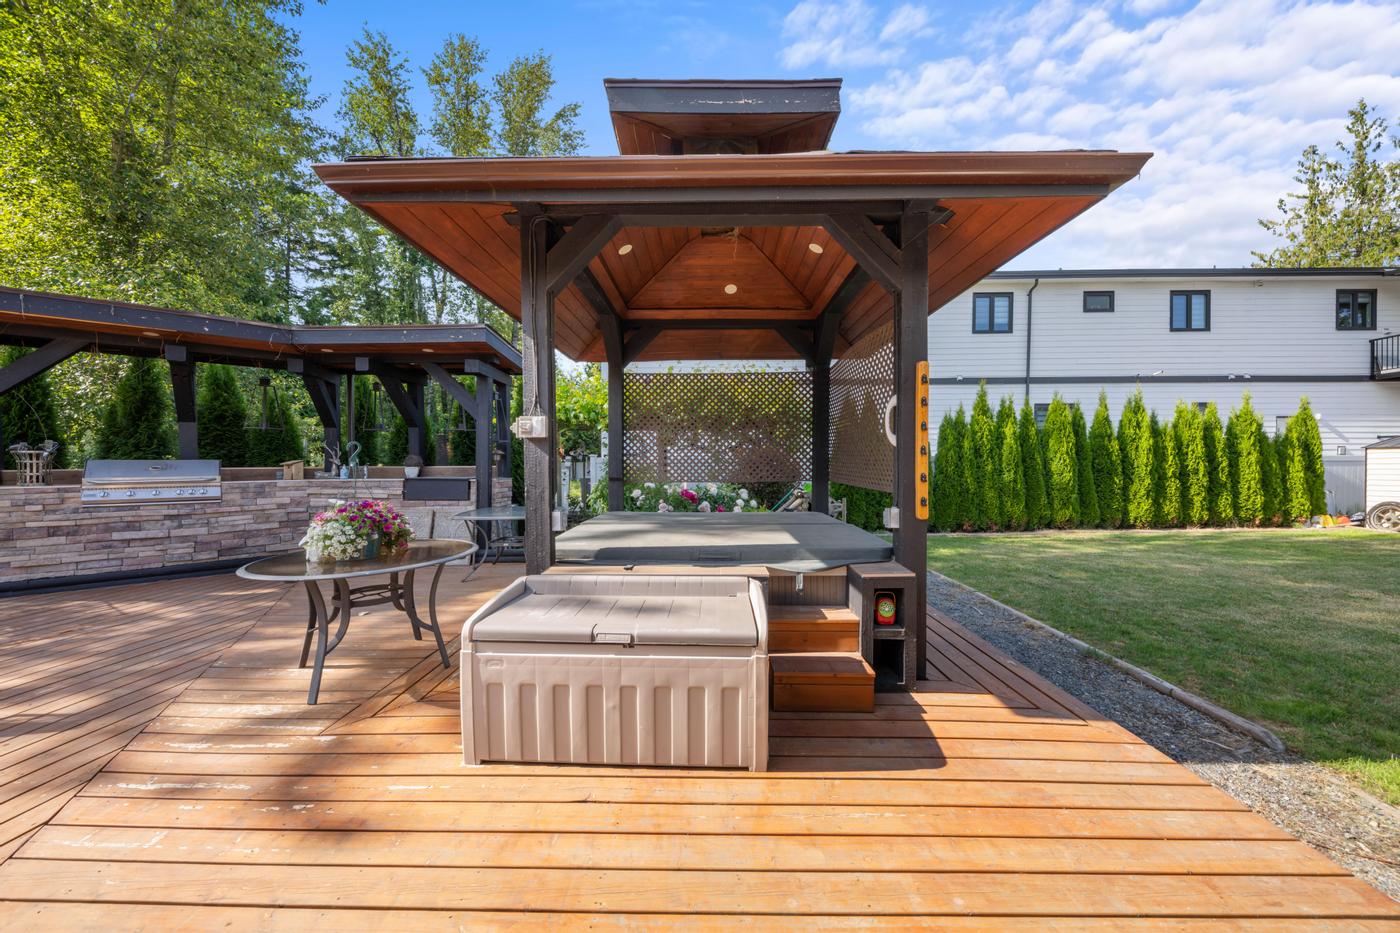
- If there is a pool or hot tub, clean it, remove the cleaner and supplies, and switch on any water features.
In North Vancouver and other areas with tall evergreens, exteriors can be dim even at midday. That is one reason some listings add a twilight exterior, a flat $175 add-on, where lit windows and a dusk sky do the work instead of daylight.
Pets
- Put food and water bowls, beds and toys in a closet or the pantry.
- Lint-roll furniture to remove pet hair.
- Plan for pets to be out of the house, crated out of sight, or in the yard during the shoot.
- Clear the yard of pet waste and toys before exterior photos.
Condos and townhouses
Strata homes add a few steps that are easy to miss in Vancouver towers and townhouse complexes:
- Check whether the building needs advance notice for contractor access, parking or elevator use, and arrange it before the shoot day.
- Tell the photographer where to park and how to get in, including buzzer numbers or a fob.
- Clear the balcony or patio completely. In a small condo it often reads as part of the living space.
- Ask whether common areas such as a gym, rooftop or lobby may be photographed. Amenity photos can help, but the building decides.
Empty or partly furnished homes
A vacant home still needs cleaning, working bulbs and open blinds, but there is no clutter to move. The question is whether empty rooms help buyers understand the space. For rooms that are hard to read, virtual staging can show how they might be furnished. Following the BCFSA guidance above, staged images should be labelled as virtually staged. Our guide to virtual staging covers when it helps and when it misleads.
How realtors can use this checklist
A few habits make the list work in practice:
- Send it early. Two or three days before the shoot gives sellers time to deal with yards and closets, not just counters.
- Walk the home with the seller. Agree on which rooms will be photographed and where clutter will go during the shoot, usually a closet, garage or car trunk.
- Book after the work, not before. If the home is being painted, repaired or professionally cleaned, schedule photos for after.
- Plan the cover image. Decide whether the listing will lead with the front exterior, a view or the main living space, and make that room the priority. Our guide on presenting a home for sale online covers photo order and cover choice.
Once the home is ready, check the pricing page for the cost of photos at the home's square footage, and book a date. Photos are delivered on an online delivery page, ready to use on the MLS, social media, a property website or a brochure.