A listing doesn't stop being useful when it sells. For many realtors, the weeks after a sale are the best time to show prospective sellers what you do, because now there's a result attached to the marketing. A good "just sold" post isn't a victory lap. It's a short case study that answers the question every future seller is quietly asking: what would you do for my home?
This playbook covers what to post after a sale, how to reuse the listing media, and the rules to check before you share anything.
Why just sold posts matter
People thinking about selling often watch local agents for months before they call anyone. Just sold posts give them evidence:
- Proof of activity in a specific neighbourhood or building.
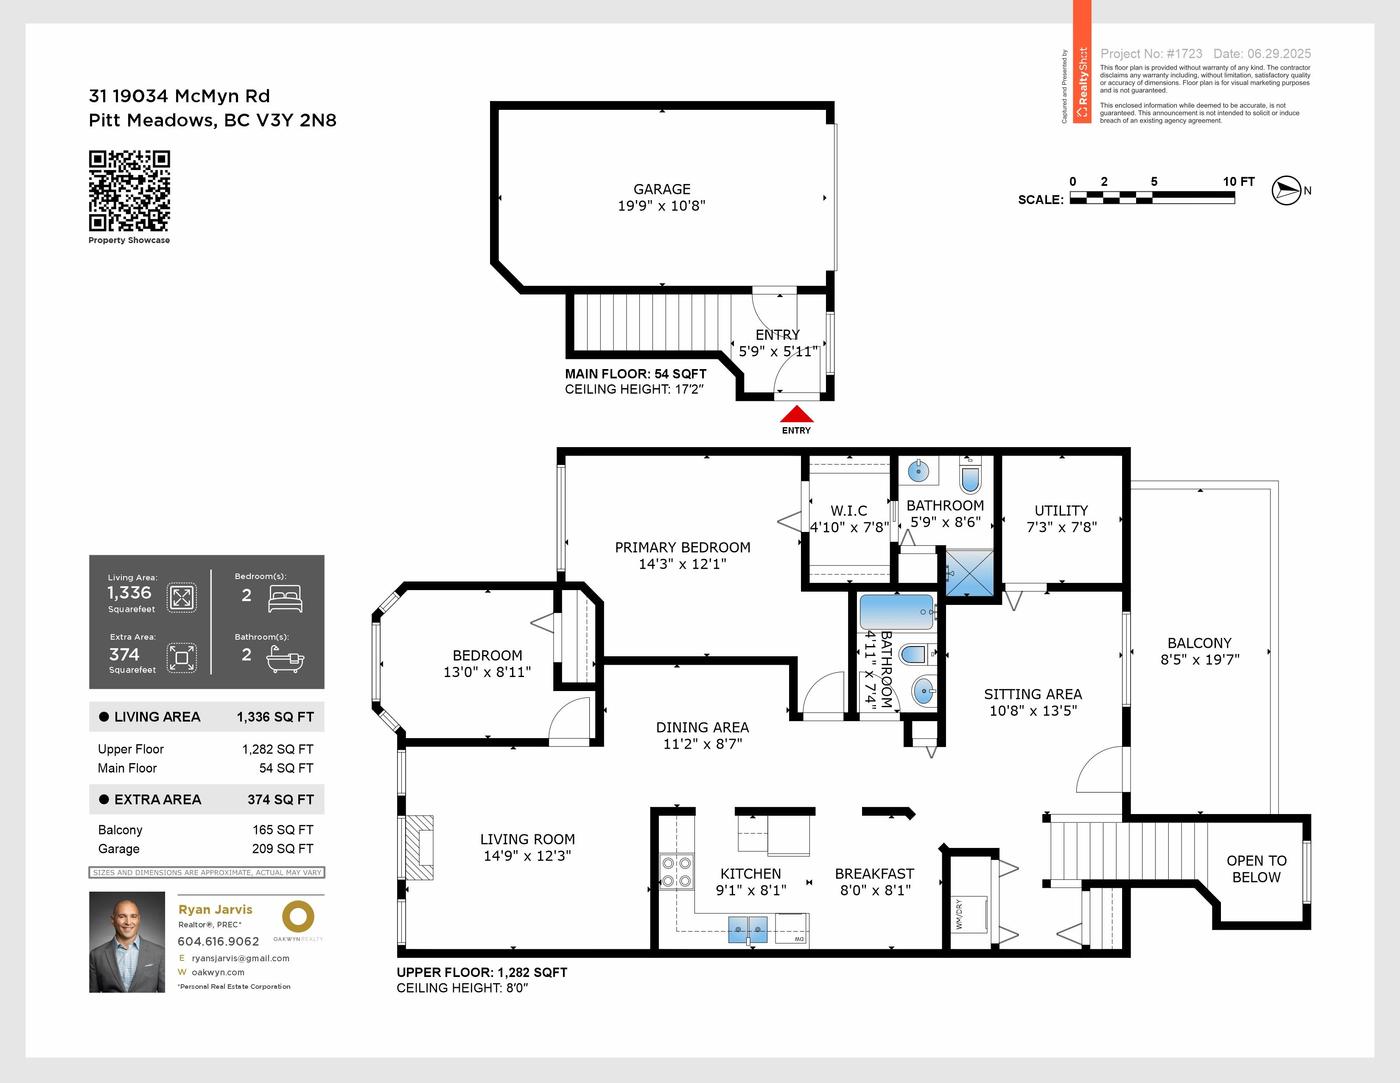
- A look at your process: the photos, video, floor plan and website that marketed the home.
- A reason to reach out while the result is fresh and relevant to their street.
They also reach a different audience than listing posts. Buyers follow active listings; neighbours and future sellers pay attention to what sold nearby.
Check before you post
Sale details are sensitive, so confirm three things first:
- Seller agreement. Ask your sellers whether they're comfortable with a just sold post, and which photos they're happy to see shared after they've moved out or handed over the keys.
- What you can say about the sale. Rules and board policies on publishing sale prices and terms vary, so check your brokerage policy and BCFSA advertising guidance before mentioning price, days on market or the number of offers.
- Your disclosures. Brokerage and licensee information belongs in just sold posts just as it does in listing ads, and altered images such as virtually staged rooms should stay labelled.
When in doubt, leave the numbers out. A post about how the home was presented works without them.
Five just sold posts worth making
1. The cover photo with a short story
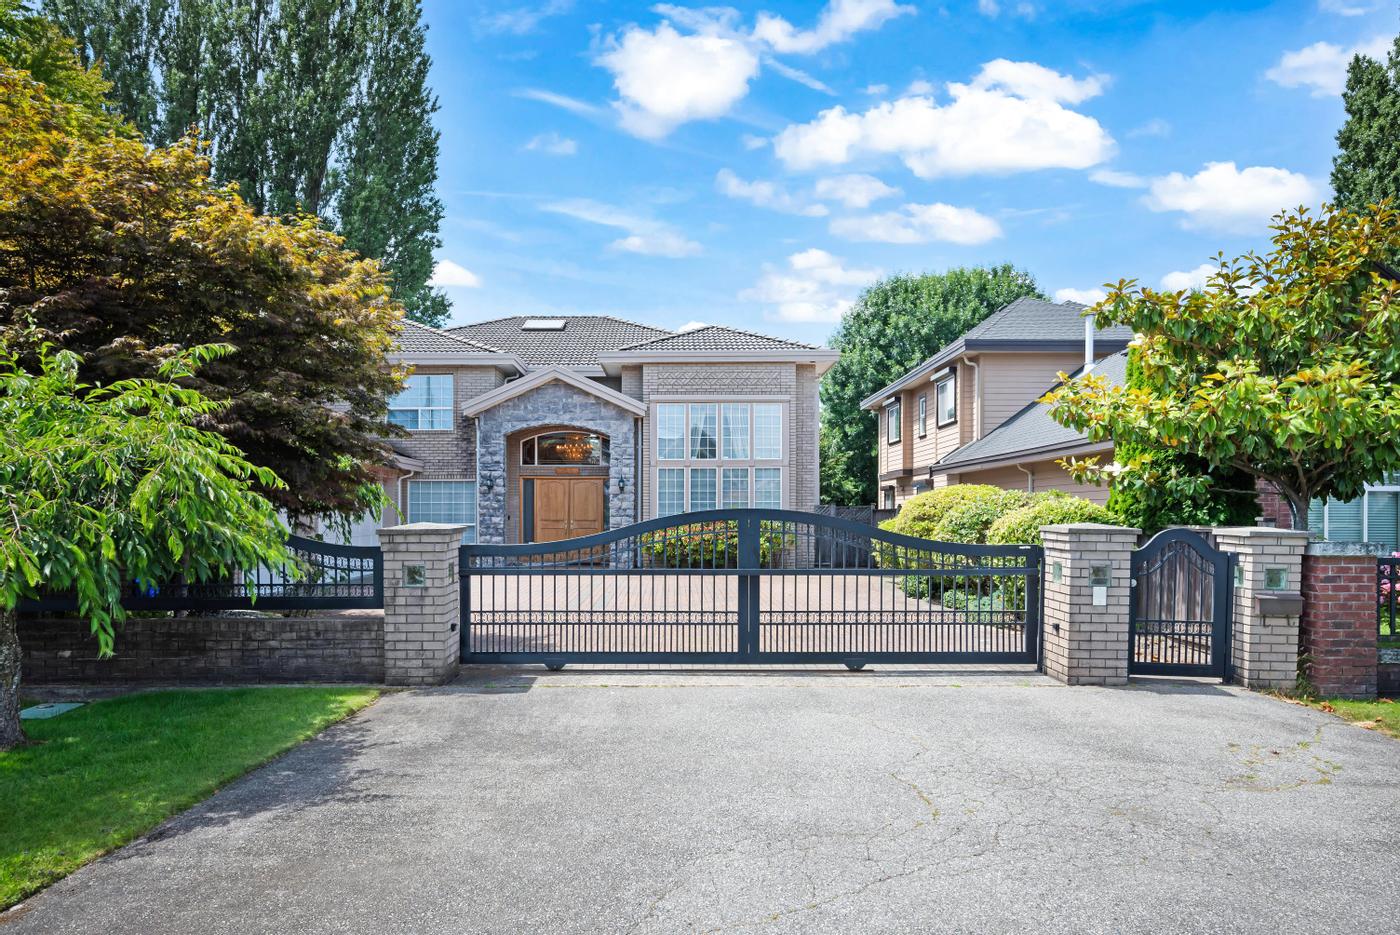
Lead with the image that marketed the listing, usually the exterior or the main living space, and write two or three lines about the home and who it suited. Specific beats generic: "Three bedrooms up, a south-facing yard and a five-minute walk to the village" tells neighbours more than "Another one sold!"
2. The before-and-after of the presentation
If the home was decluttered, staged or simply shot at the right time of day, show it. A carousel with one phone snapshot from the first walkthrough next to the finished listing photo shows sellers what preparation and good media actually change. Only use phone snapshots the sellers agree to share.
3. The marketing behind the sale
Walk through what you used: the photo set, the floor plan, the video and the property website. A short screen recording of the website or the Floor View Tour shows prospective sellers exactly how their home would be presented online.
4. The neighbourhood angle
An aerial from the drone photography set, or a photo of the nearest park or high street, turns the post into a local story. Tag the neighbourhood, not just the city, and invite neighbours to ask what their own home might need.
5. A short video recap
A vertical clip from the listing video, or a SpeedSell Video generated from the photos, gives the post motion. Change the caption and the first frame so it reads as a recap rather than a repeat of the launch post.
 Our work
Reuse the listing media well
You already have everything you need from the listing shoot, so the work is in the editing, not the creating:
- Pick a different hero image from the launch post so followers don't think they're seeing an old ad.
- Crop for each format: square or 4:5 for the feed, vertical for stories and reels.
- Keep the property website link handy for anyone who asks to see the full presentation; a single-property website is often the clearest way to show a seller the complete package.
- Save the best frames in a "sold" folder so you can use them later in listing presentations.
Our weekly social media system shows how to fit just sold posts into a regular rhythm alongside active listings, and one listing shoot, two weeks of posts shows how far a single shoot can stretch.
Captions that invite the next conversation
End every just sold post with one clear, low-pressure next step:
- "Thinking about selling in Lynn Valley? Message me and I'll share what we did here."
- "Curious what your home would need before listing? Happy to walk through it."
- "Neighbours often ask what homes like this are worth. Send me a note."
Avoid hard sales language. The post has already done the persuading; the caption only needs to make replying easy.
When to post
Timing depends on the sellers and your board's rules, but a simple sequence works for most sales:
- Shortly after the sale is final: the cover photo post or a short video recap.
- A week or two later: the marketing behind the sale or the before-and-after.
- Later still: fold the home into a neighbourhood roundup or a "recent sales" highlight on your profile.
Spacing them out keeps your feed from turning into a wall of sold signs, and gives you local content between new listings.
Media that keeps working after the sale
The listings that make the strongest just sold posts are the ones marketed with a full media set: photos, video, a floor plan and somewhere to point people online. The Signature package currently includes HDR Photography, Cinematic Video, a Floor Plan (LiDar), a Floor View Tour, a Property Website and Brochure Design. Live contents and pricing are below.
Package
Signature
- HDR Photography
- Cinematic Video
- Property Website
- Floor Plan (LiDAR)
- Virtual Tour (FloorView)
- Brochure Design
Keep it consistent
One just sold post won't fill your calendar with listing appointments. A steady habit of short, specific, compliant posts after every sale will, over time, show the neighbourhoods you work in that you know how to present a home.